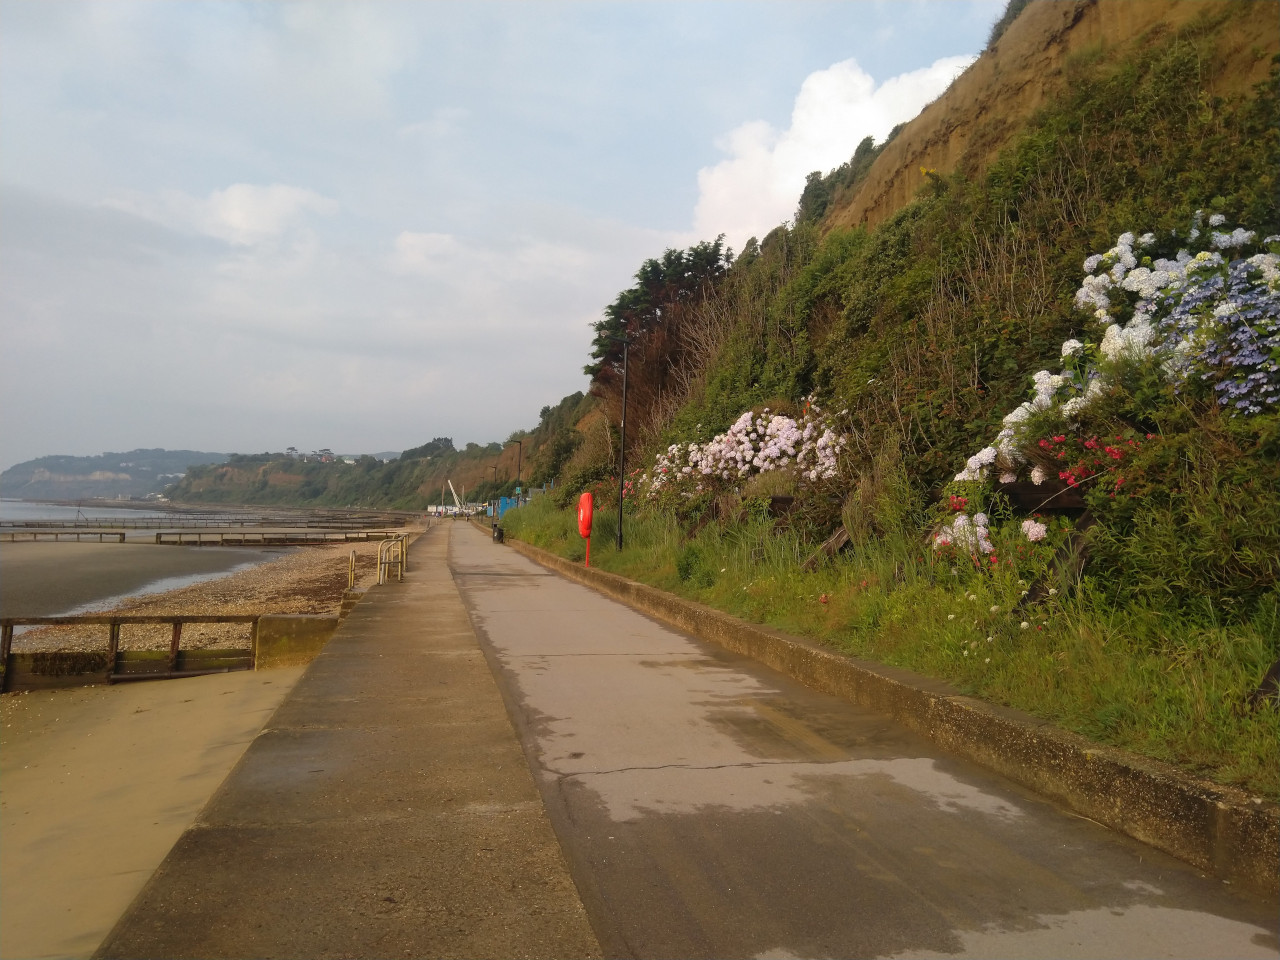
Its been a long time since I have posted anything. A great deal of this is due to moving ‘home’ from Oxfordshire back home to the Isle of Wight and its spectacular views. These images are typical of my walks along the nearby seafront. Hopefully there will be more to come, along with some new radio related projects. MGLW has also been busy with the soldering iron too! Details to follow soon…
These are examples of the plant life found by the local sea wallMore plant life enjoying the sea viewsLooking along the sea wall towards Shanklin
I mentioned in the last post that I had another treat in store for my lucky little Pi. This comes in the form of an audio ‘hat’ that the SmartiPi Touch is designed to accomodate. Let’s see what it looks like and how to fit it…
A brand new Pi-DAC board for output to an audio amplifier or headphones.
The bare hat and mounting kit.
We will not need the supplied mounting kit, but instead we will use the two small black spacers and screws supplied with the screen case. Place the spacers on the case over the screw holes and push the long black connector in the the corresponding slot and on to the pins on the Pi circuit board.
The hat is in place, plugged in to the Pi and screwed to the back of the case.
In the next post I will go in to applying power to the Pi and screen and show some of the results.
Welcome to Dark and Scary, a place for me to dump stuff from the furthest, cobweb covered corners of my brain to do with computers, electronics, cycling, dungeons and dragons and ooh… just stuff that keeps me awake at night thinking, and possibly, once in a while, it might actually be useful.