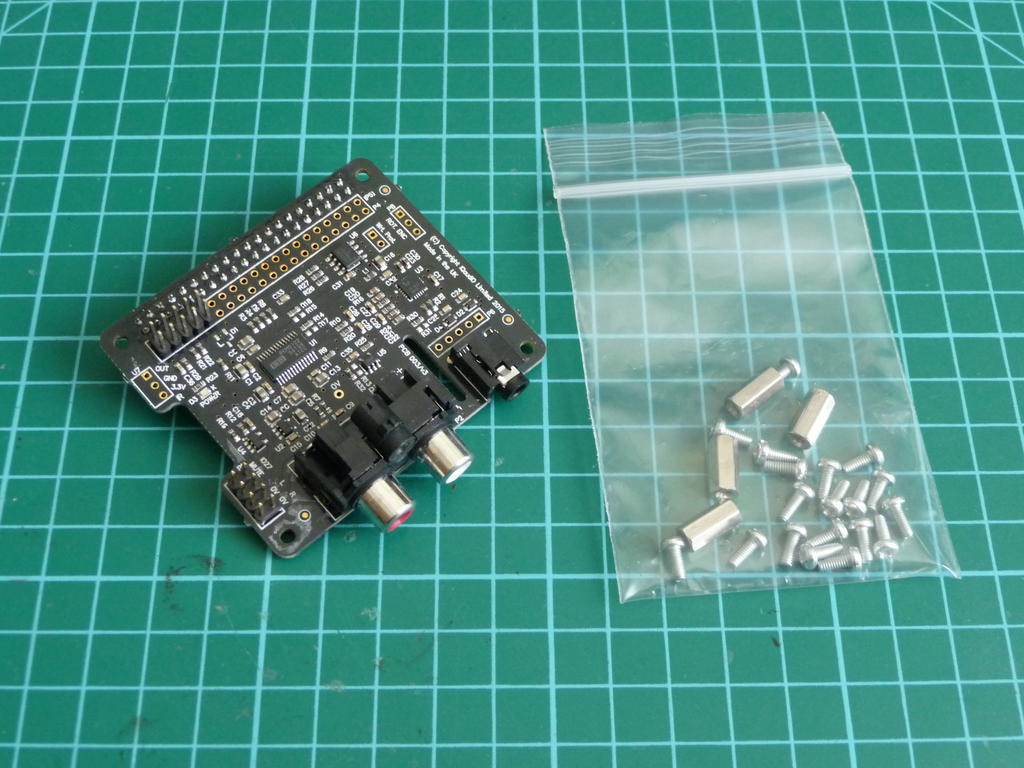
I mentioned in the last post that I had another treat in store for my lucky little Pi. This comes in the form of an audio ‘hat’ that the SmartiPi Touch is designed to accomodate. Let’s see what it looks like and how to fit it…

I mentioned in the last post that I had another treat in store for my lucky little Pi. This comes in the form of an audio ‘hat’ that the SmartiPi Touch is designed to accomodate. Let’s see what it looks like and how to fit it…


We will not need the supplied mounting kit, but instead we will use the two small black spacers and screws supplied with the screen case. Place the spacers on the case over the screw holes and push the long black connector in the the corresponding slot and on to the pins on the Pi circuit board.

In the next post I will go in to applying power to the Pi and screen and show some of the results.